How to Photograph a Short Term Rental
Prep, light, gear, the shot list, photo order, and the mistakes that cost bookings. A working guide to photographing a short term rental yourself.
How to photograph a short term rental comes down to three things you control: how the place looks before you lift a camera, how you handle the light, and whether you captured everything a guest needs to see. Gear matters least of the three.
We’re OpenDoors360. We shoot short term rentals across New York City and Baltimore, and this is the process we’d hand a host who wants to try it themselves first. Most of it costs nothing.
- Prep is most of the result. Declutter, depersonalize, make the beds, clear every counter.
- Shoot each room while its own windows are working, which means chasing the light around the unit through the day.
- Kill the mixed light. Lamps and daylight in the same frame fight each other, and one of them has to go.
- A tripod and a level do more for your photos than a better camera will.
- Go wide, but skip ultra-wide. A stretched room sells a place that doesn’t exist, and the reviews say so.
- Shoot the details guests message you about: the bed, the coffee setup, parking, the workspace.
Prep the unit before you pick up a camera
Every hour you spend cleaning and staging saves you two in editing, and it shows up in a way editing can’t fake. The checklist we hand sellers before a shoot works for a rental too, with the amenities left out on purpose.
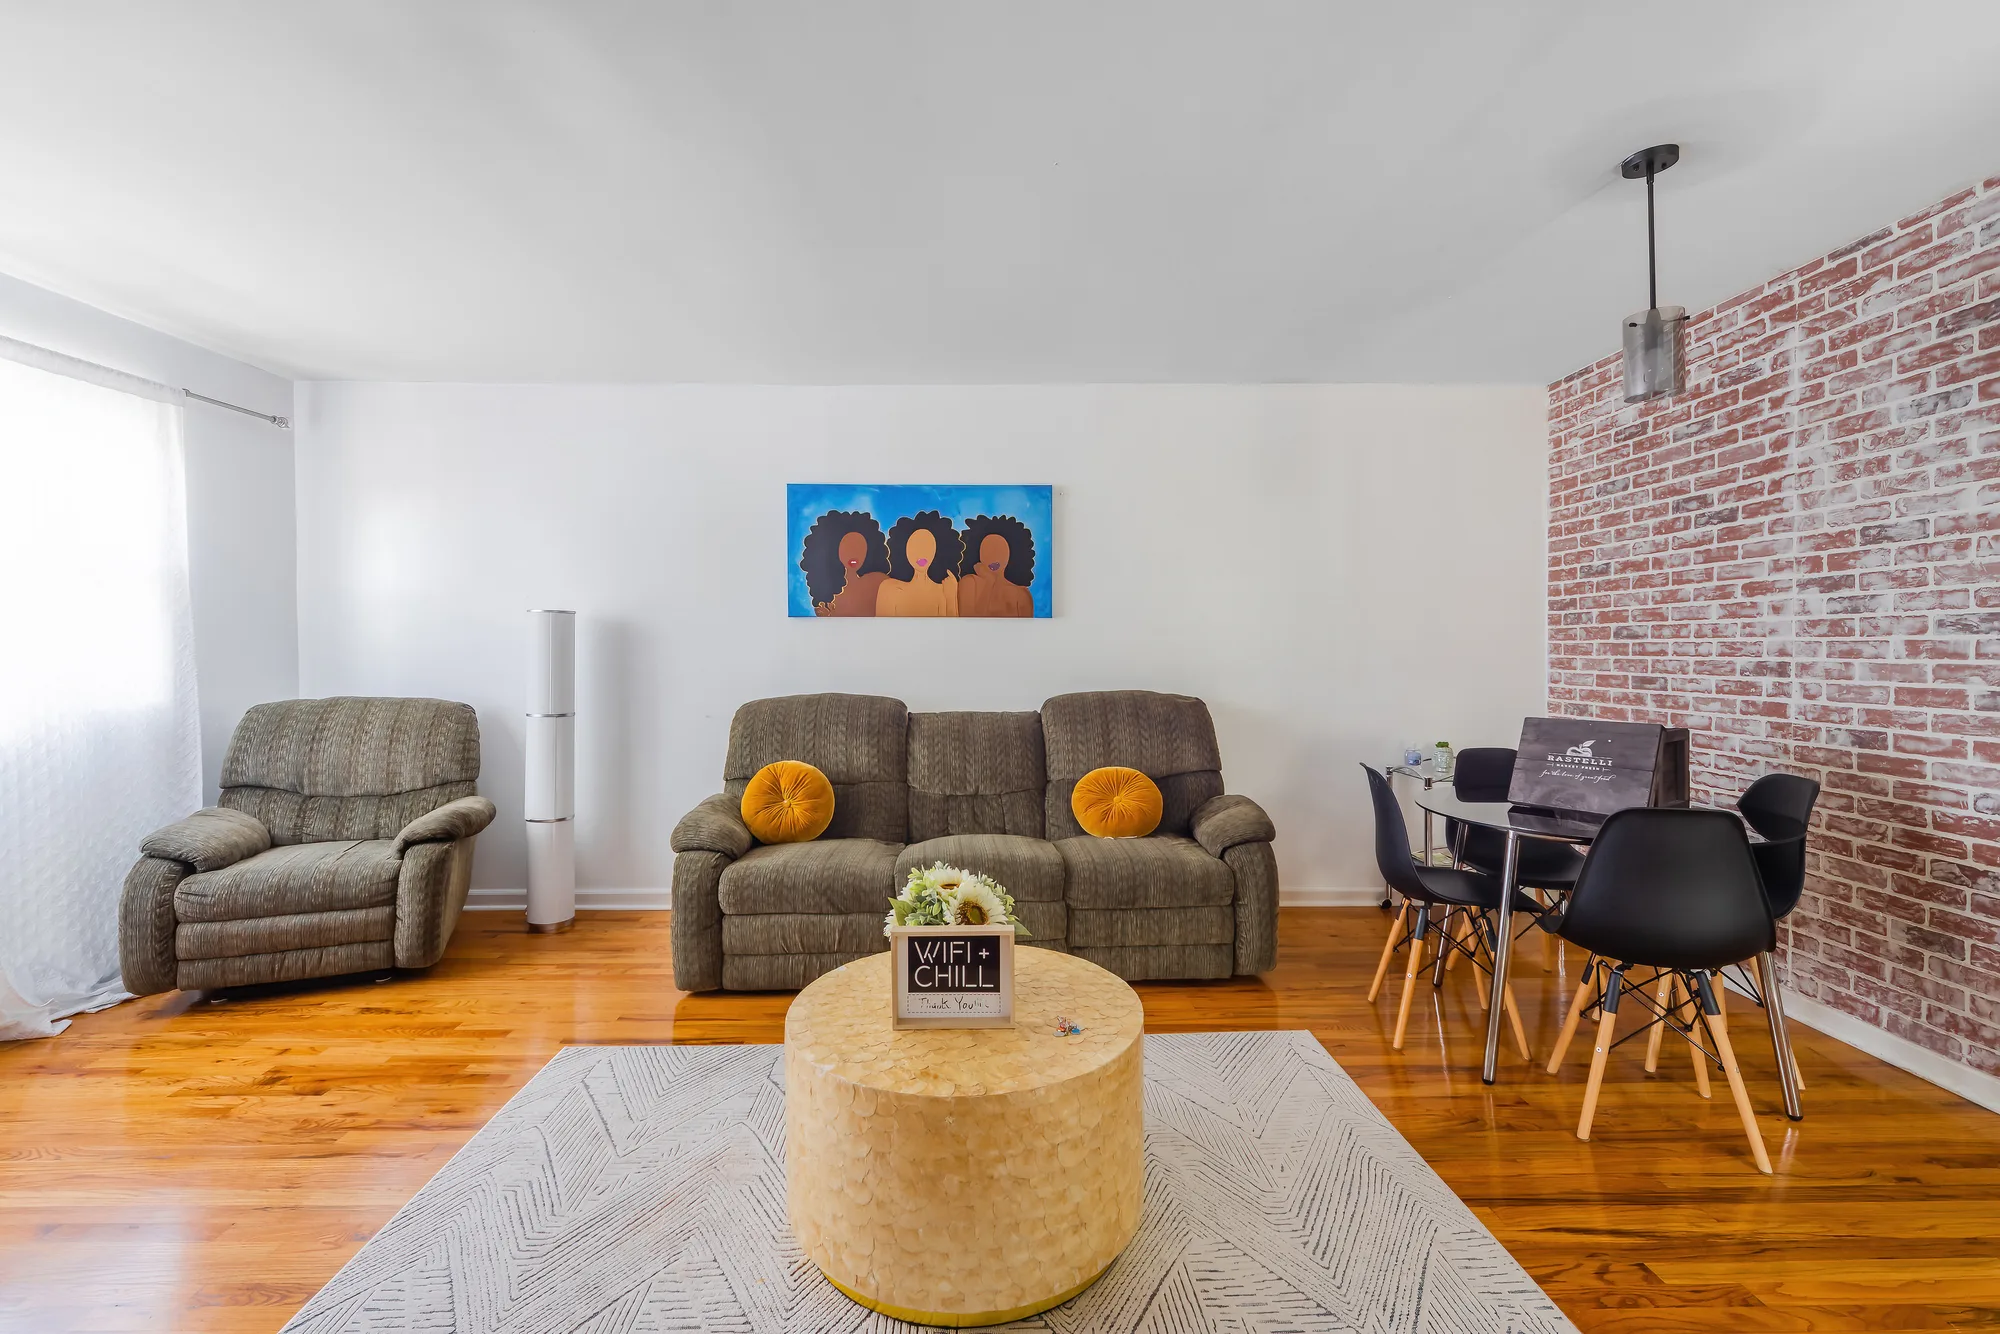
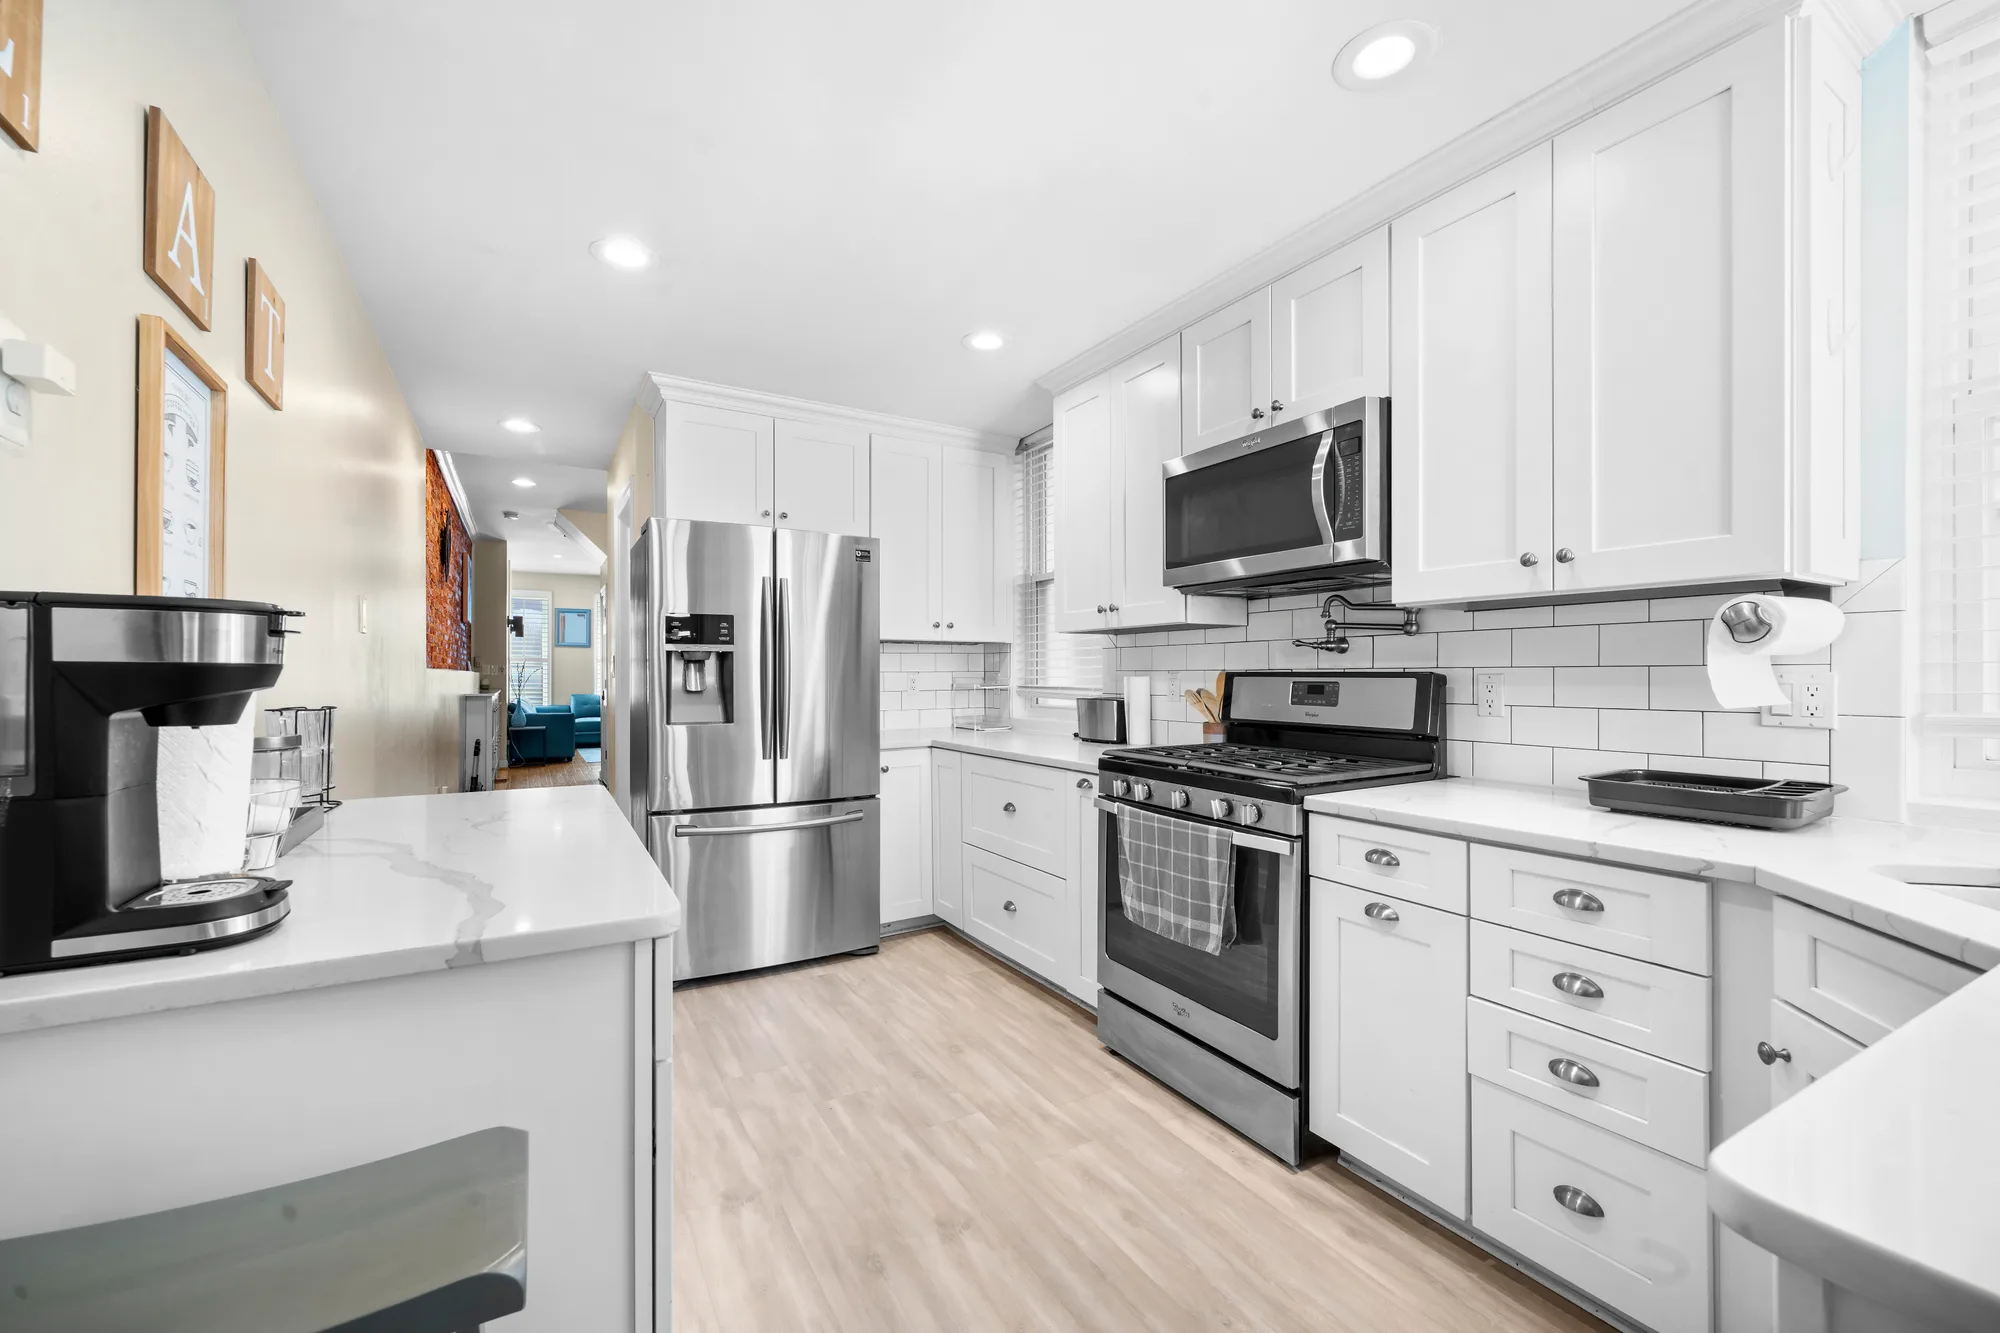
Strip the place down first. Clear the kitchen counters completely, then put back two or three things that look intentional: a board, a bowl of fruit, the coffee setup. The sponge, the dish soap, the drying rack, and the bin all disappear. Bathrooms get the same treatment. Everything personal goes too: mail, chargers, medication, family photos, the plastic laundry basket. A guest is trying to picture themselves in the space, and your things crowd them out.
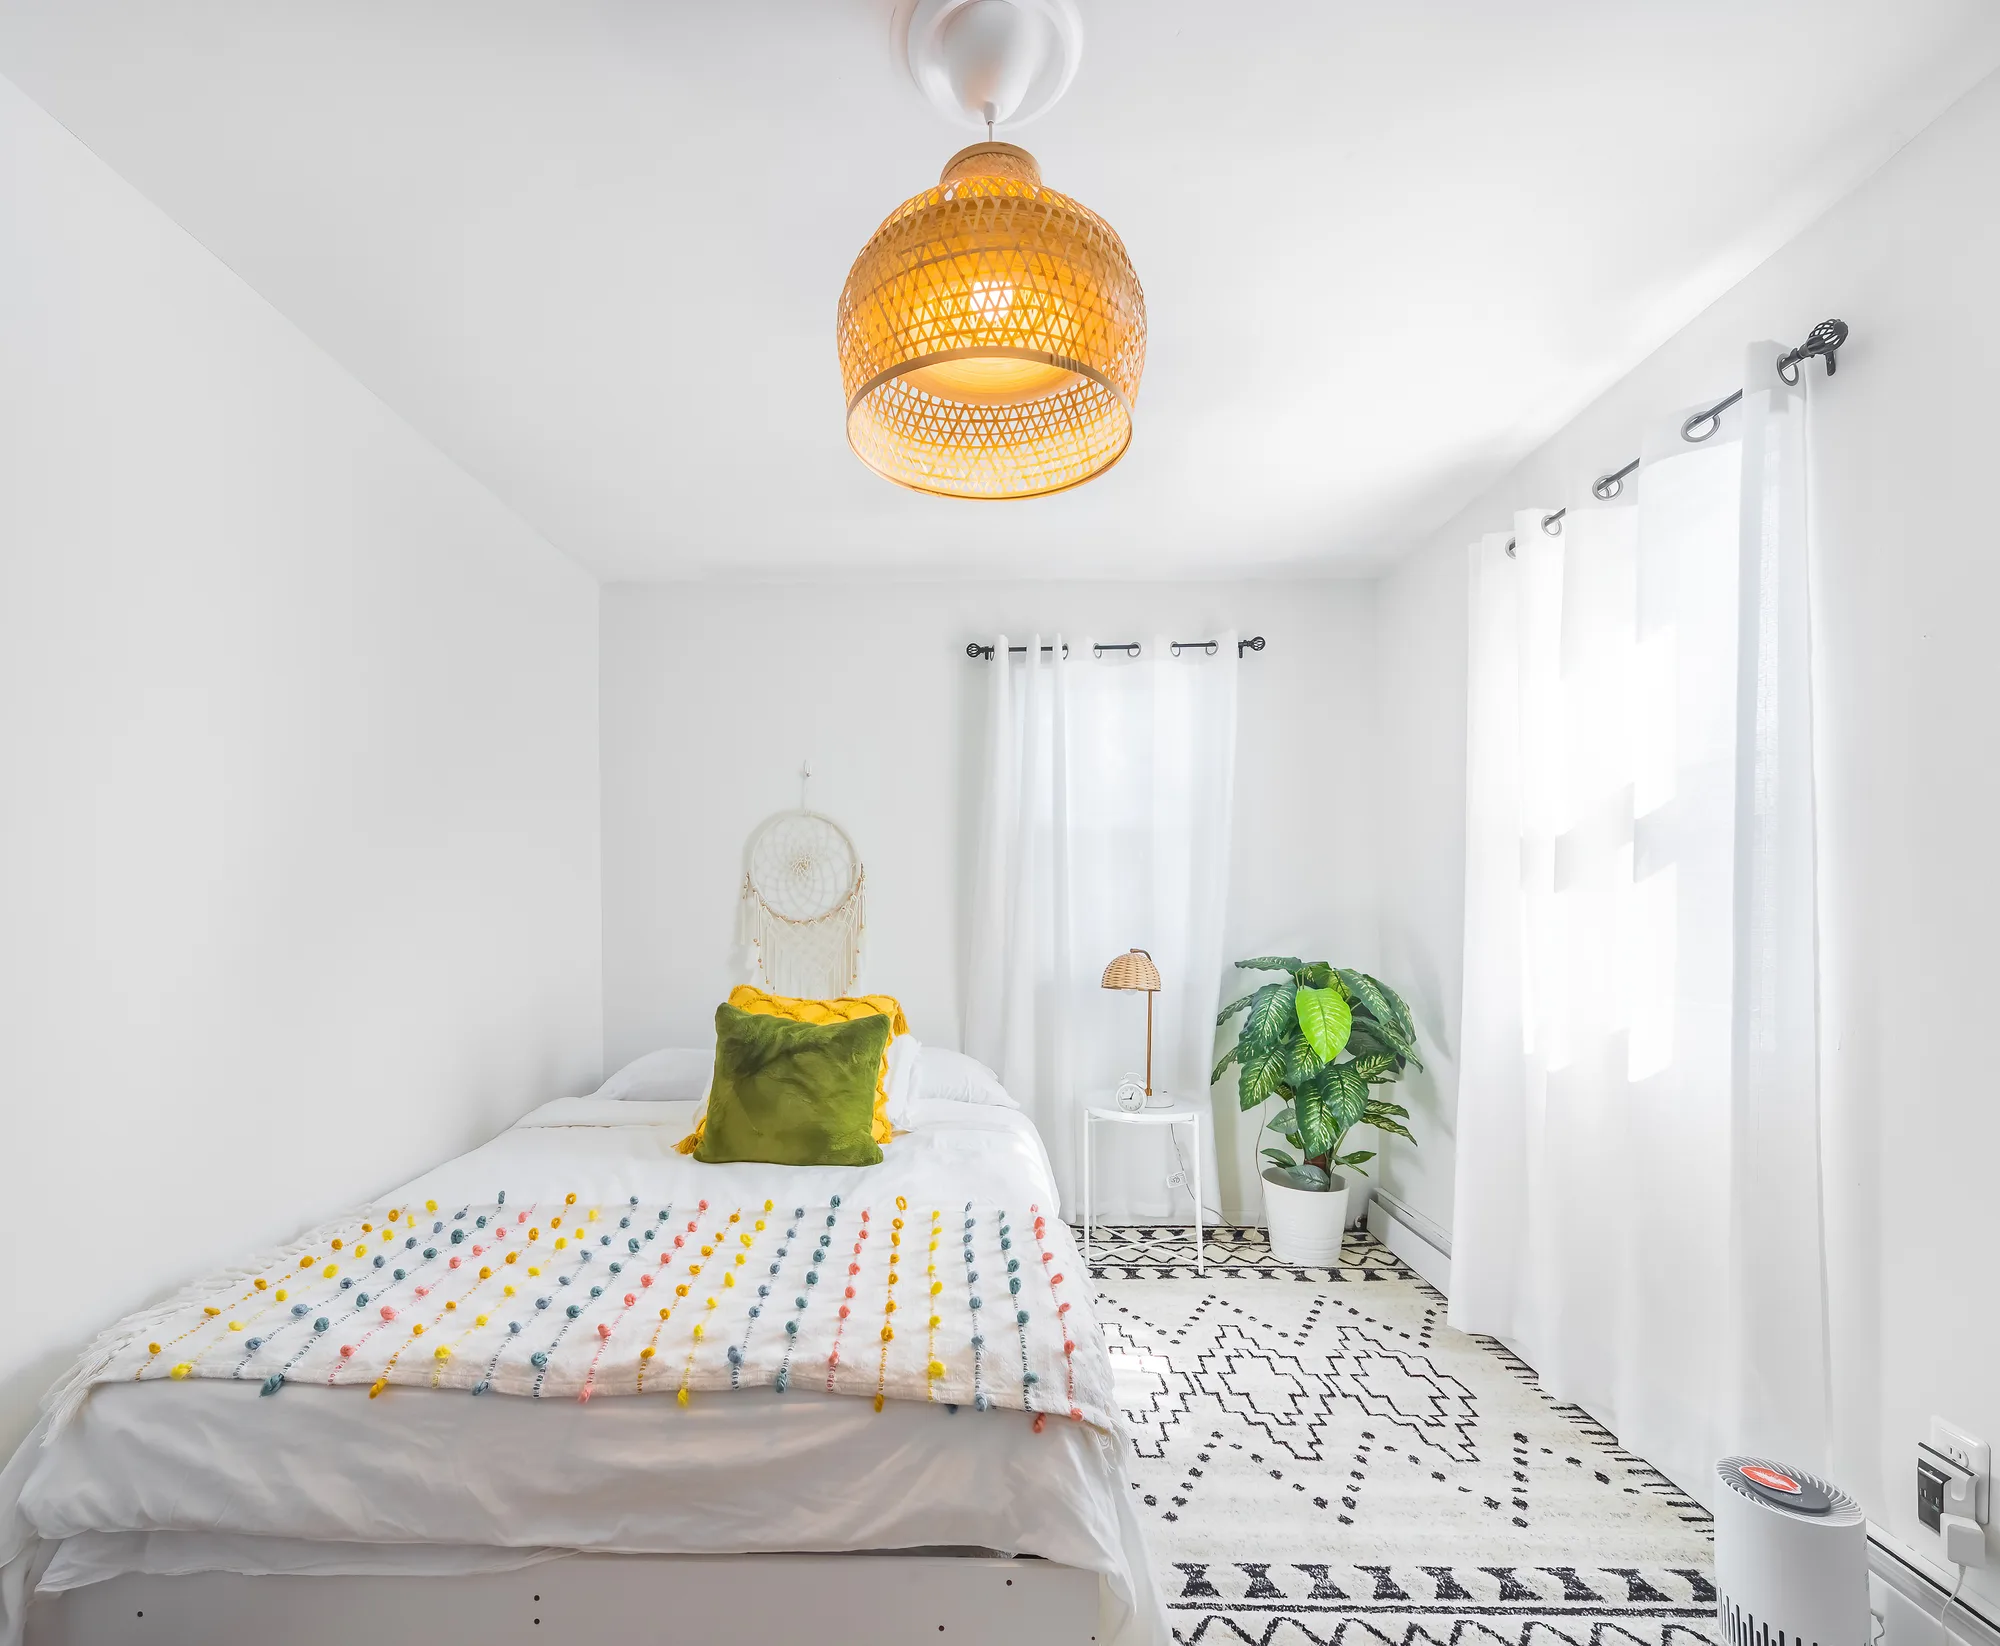
Then make the beds properly, and I mean properly. Steam or iron the duvet if you have to, square the pillows, pull the corners tight. A wrinkled bed is the most common reason a rental photo looks cheap. Open every curtain and blind and align the slats so they read as straight lines. Switch ceiling fans off so the blades don’t blur. Hide cords where you can, and tuck the router, the trash can, and the vacuum out of frame.
Last pass: walk each room and look at it the way a camera does, flat and unforgiving. Wipe the mirrors, close the toilet lids, straighten the towels, angle the dining chairs. Then stop touching things.
An afternoon of prep outshoots a better camera.
Shoot each room while its windows are working
Light in an apartment moves all day, so the best time of day for one room is the wrong time for another. A bedroom with east windows peaks before noon. A west-facing living room comes alive in the late afternoon. Interior rooms with no direct exposure at all, which describes plenty of what you’ll find in a New York building, are easiest on a bright overcast day when the light is soft and even.
Plan the shoot as a loop through the unit rather than a march from room one to room twelve. Start where the light is good and come back later for the rooms that need the other half of the day. If you only have one window of time, aim for mid-morning or mid-afternoon and skip high noon, when the sun punches hard shadows across floors and countertops.
Direct sun into the lens is the one thing to avoid outright. It blows the window to a white rectangle and drops the rest of the room into shadow. Come back for that room later, or wait for a cloud.
The mixed-light problem, and the simplest fix
Turn the lamps off. That’s the fix, and it surprises most hosts.
Daylight is blue-ish, a warm bulb is orange, and a camera can only correct for one of them at a time. Leave both on and you get a photo where the window side reads cold, the lamp side reads yellow, and the white wall between them shows up as two different colors. Even careful editing struggles to unpick that.
So shoot with the daylight and the room lights off, and let the windows do the work. The exception is a space with almost no natural light, a windowless bathroom or an interior hallway, where you switch everything on, accept the warm cast, and correct the whole frame in one go. A twilight exterior is its own deliberate choice: lamps on, curtains open, shutter at dusk while the sky still holds some blue.
Let the windows do the work.
A tripod and a level beat a better camera
The gap between an amateur short term rental photo and a professional one is mostly straight lines.
A tripod holds the camera at a fixed height, keeps it steady enough to shoot at a low ISO in dim rooms, and lets you fine-tune the frame without your hands wobbling it. Set it around chest height, roughly four feet off the floor, which reads natural for interiors. Higher makes rooms look shrunken. Lower makes ceilings loom.
Then get it level in both directions. Most phones and cameras have a built-in level. Vertical lines in the frame, the door jambs, the window frames, the corners of the room, should run straight up and down, and when they lean the whole photo feels slightly off to a viewer who would struggle to name why. Levelling is the cheapest upgrade available to you, and it beats any lens you could buy.
A good phone camera is fine, by the way. Shoot at the highest resolution setting, lock the exposure by tapping the brightest part of the room, and use the timer or a remote so your finger isn’t shaking the frame.
Lens choice: wide enough to read, honest enough to book
Interiors need a wide lens because you’re usually standing with your back against a wall. On a full-frame camera that means somewhere in the 16mm to 24mm range. On a crop sensor, 10mm to 16mm. On a phone, the standard wide lens does the job and the 0.5x ultra-wide gets you in trouble. Ultra-wide looks generous in the moment, so it’s tempting for a small apartment, and it stretches everything toward the edges of the frame. Beds turn into rafts. A galley kitchen reads like a chef’s kitchen. Then the guest arrives, finds the room they booked is two-thirds the size they pictured, and writes exactly that in the review. Every booking platform expects a listing to match the place, and one review saying “much smaller than the photos” costs more than the booking it won.
So use the widest lens that keeps the room’s proportions believable, then stand back as far as the walls allow and shoot from a corner or a doorway. Framing the long axis of a room, corner to corner, gives you depth without the stretch.
The shot list a listing needs
Work from a list so you don’t discover the gap after you’ve packed up. A complete short term rental set covers:
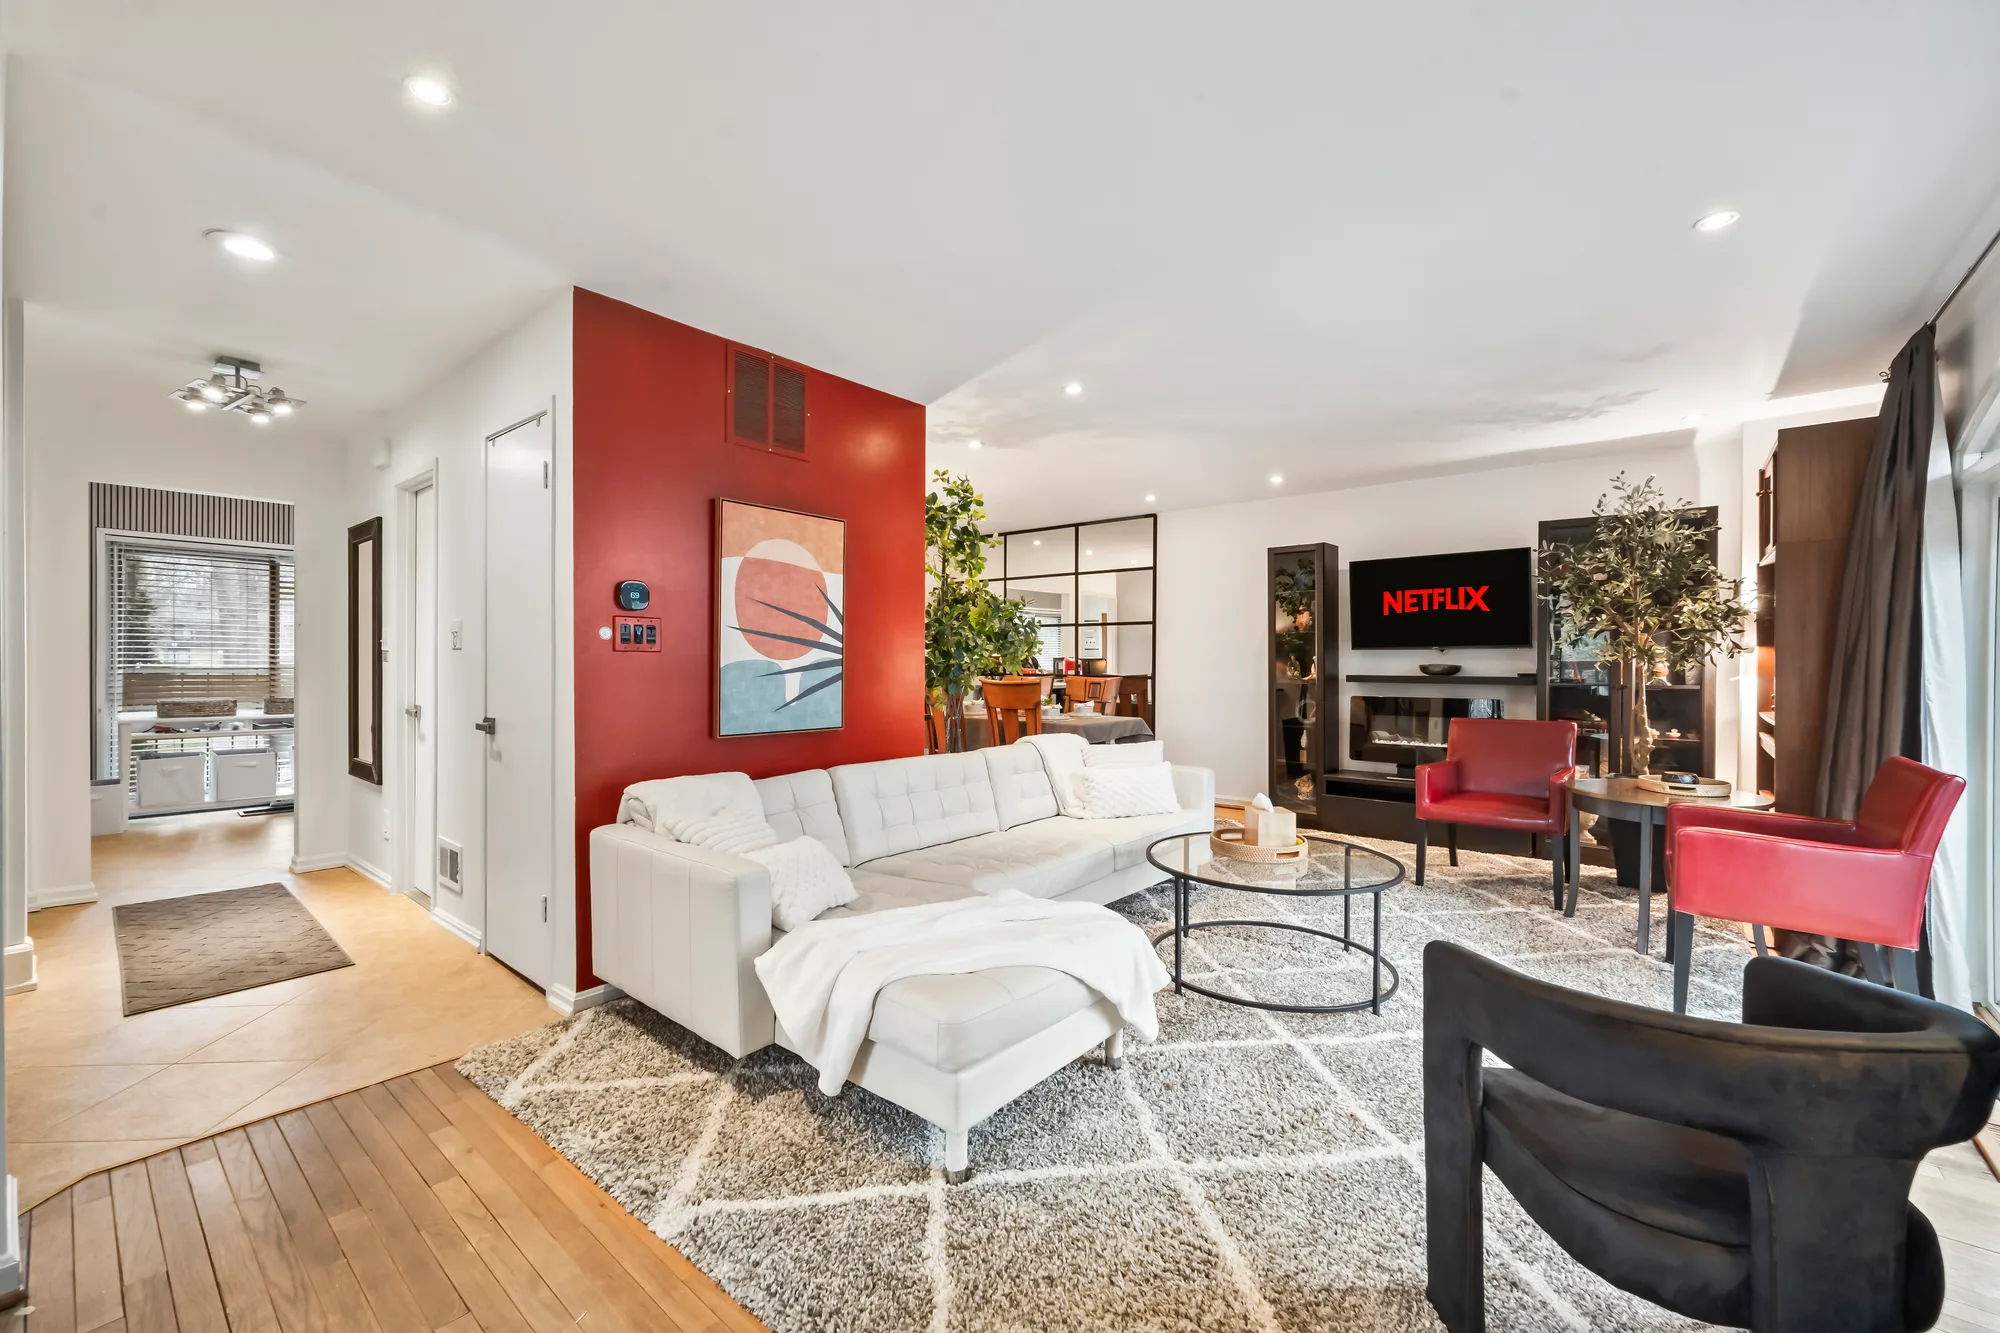
- A hero shot. The strongest single room, usually the living room or the primary bedroom, shot wide and bright. This is your cover photo, and it carries most of the click.
- Every bedroom, from at least two angles: one wide showing the whole room, one closer on the bed.
- Every bathroom, wide from the doorway, plus a detail of the shower or vanity.
- The kitchen, wide, plus a second angle showing the appliances a guest will use.
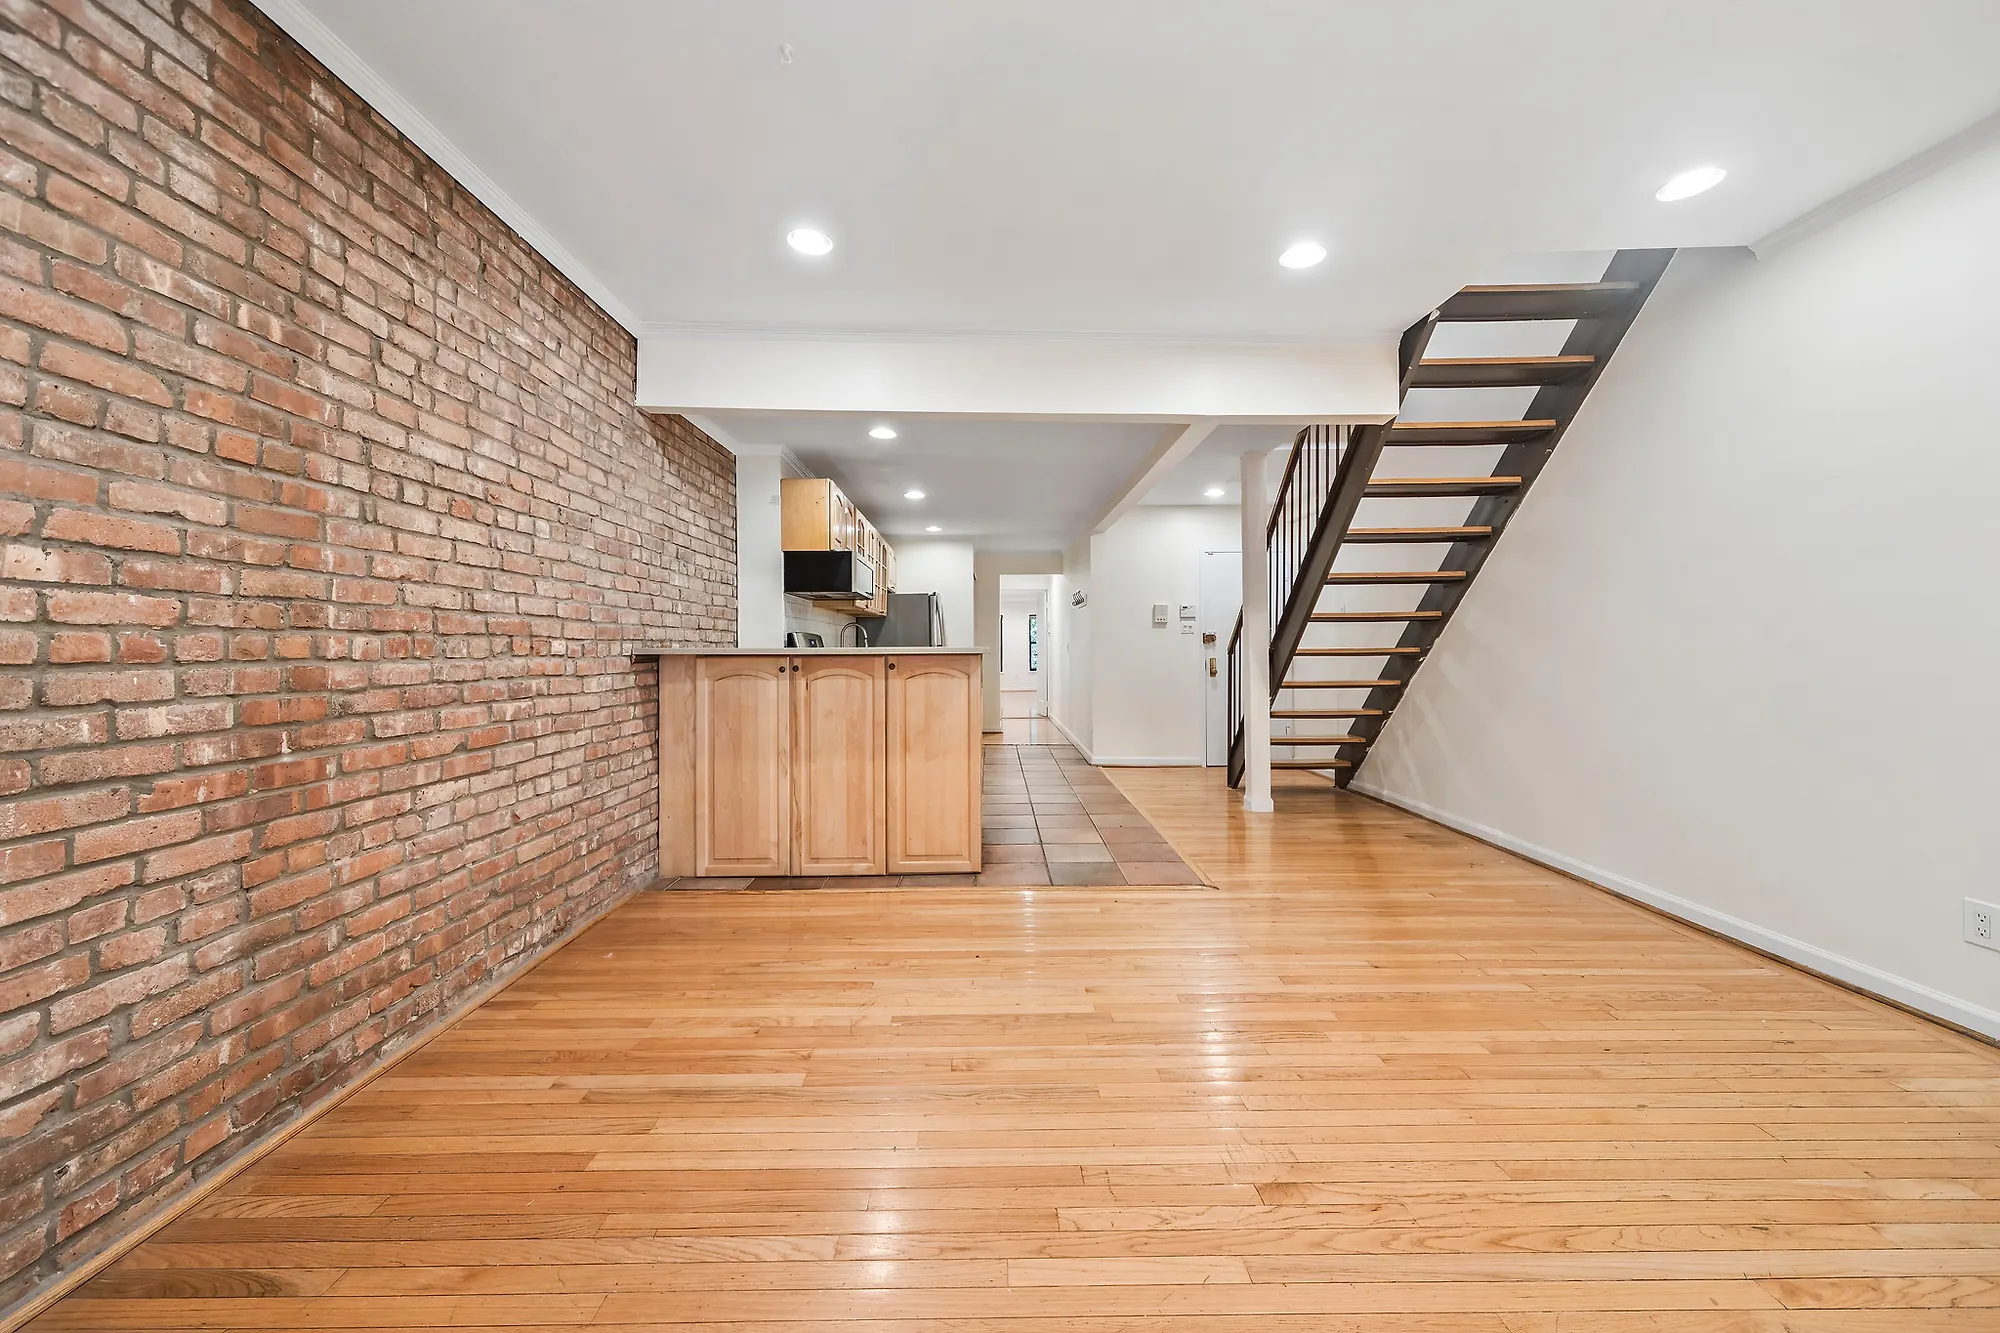
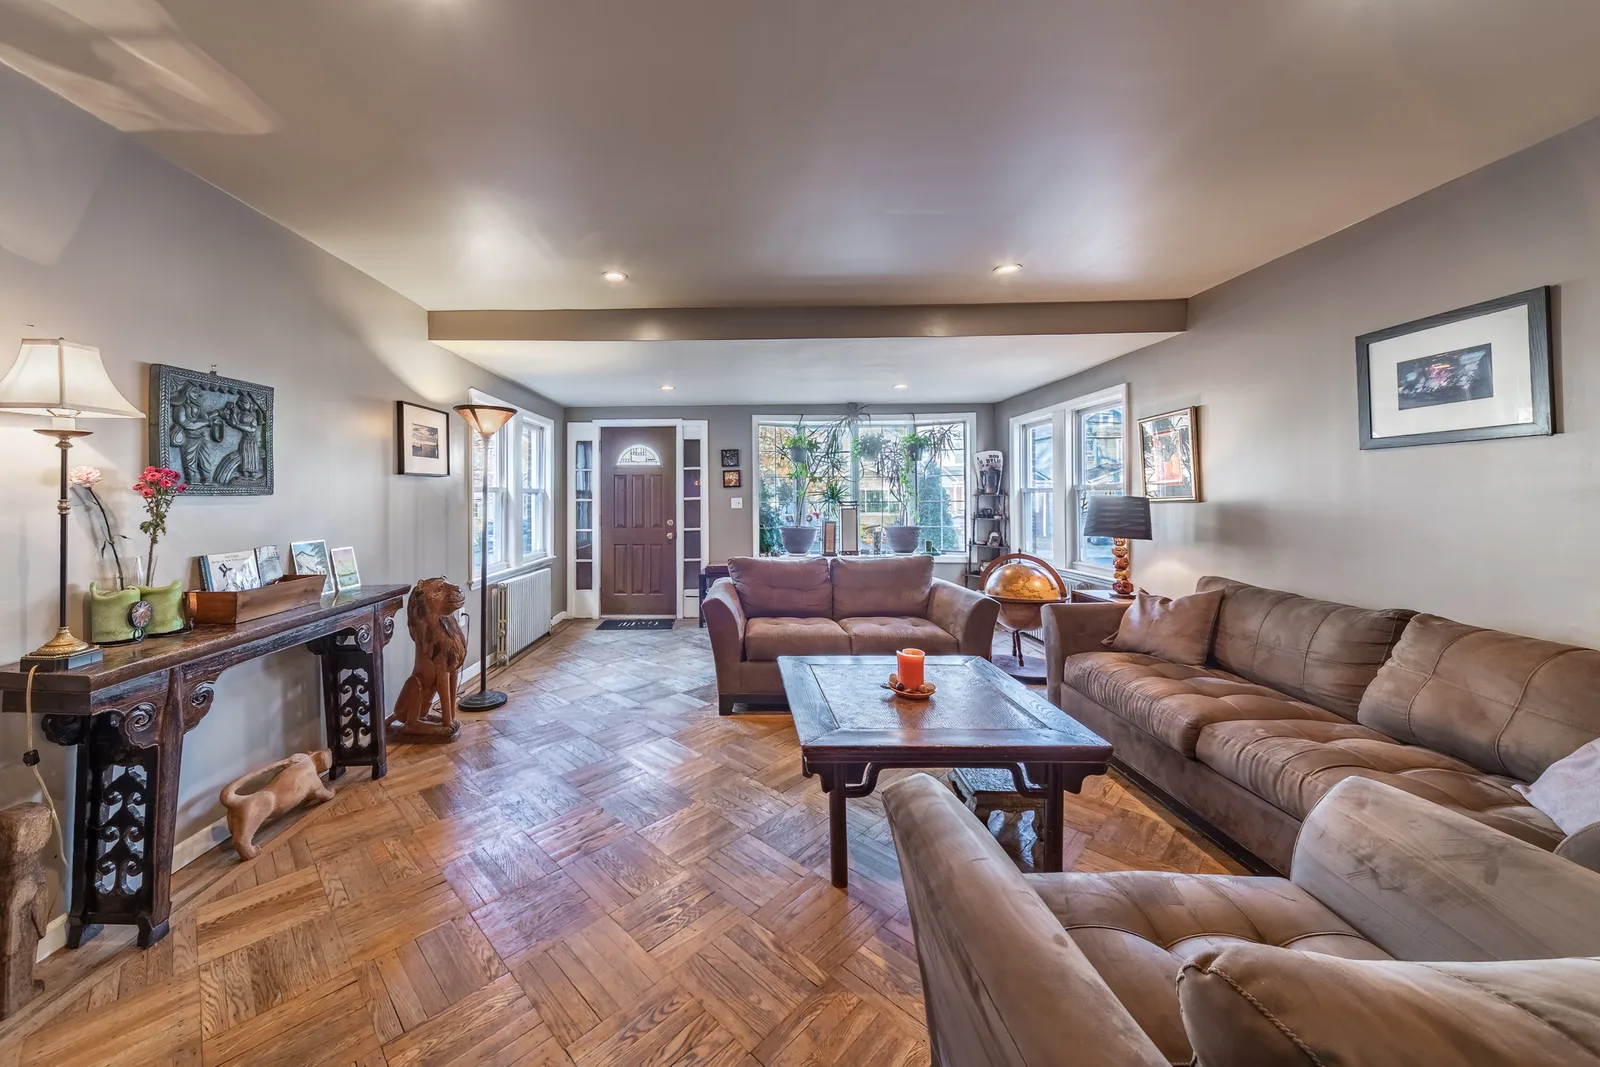
- The living space, two or three angles, including one that shows how it connects to the rest of the unit.
- The workspace, if there’s a desk or a table someone could work at. Remote-working guests filter for it.
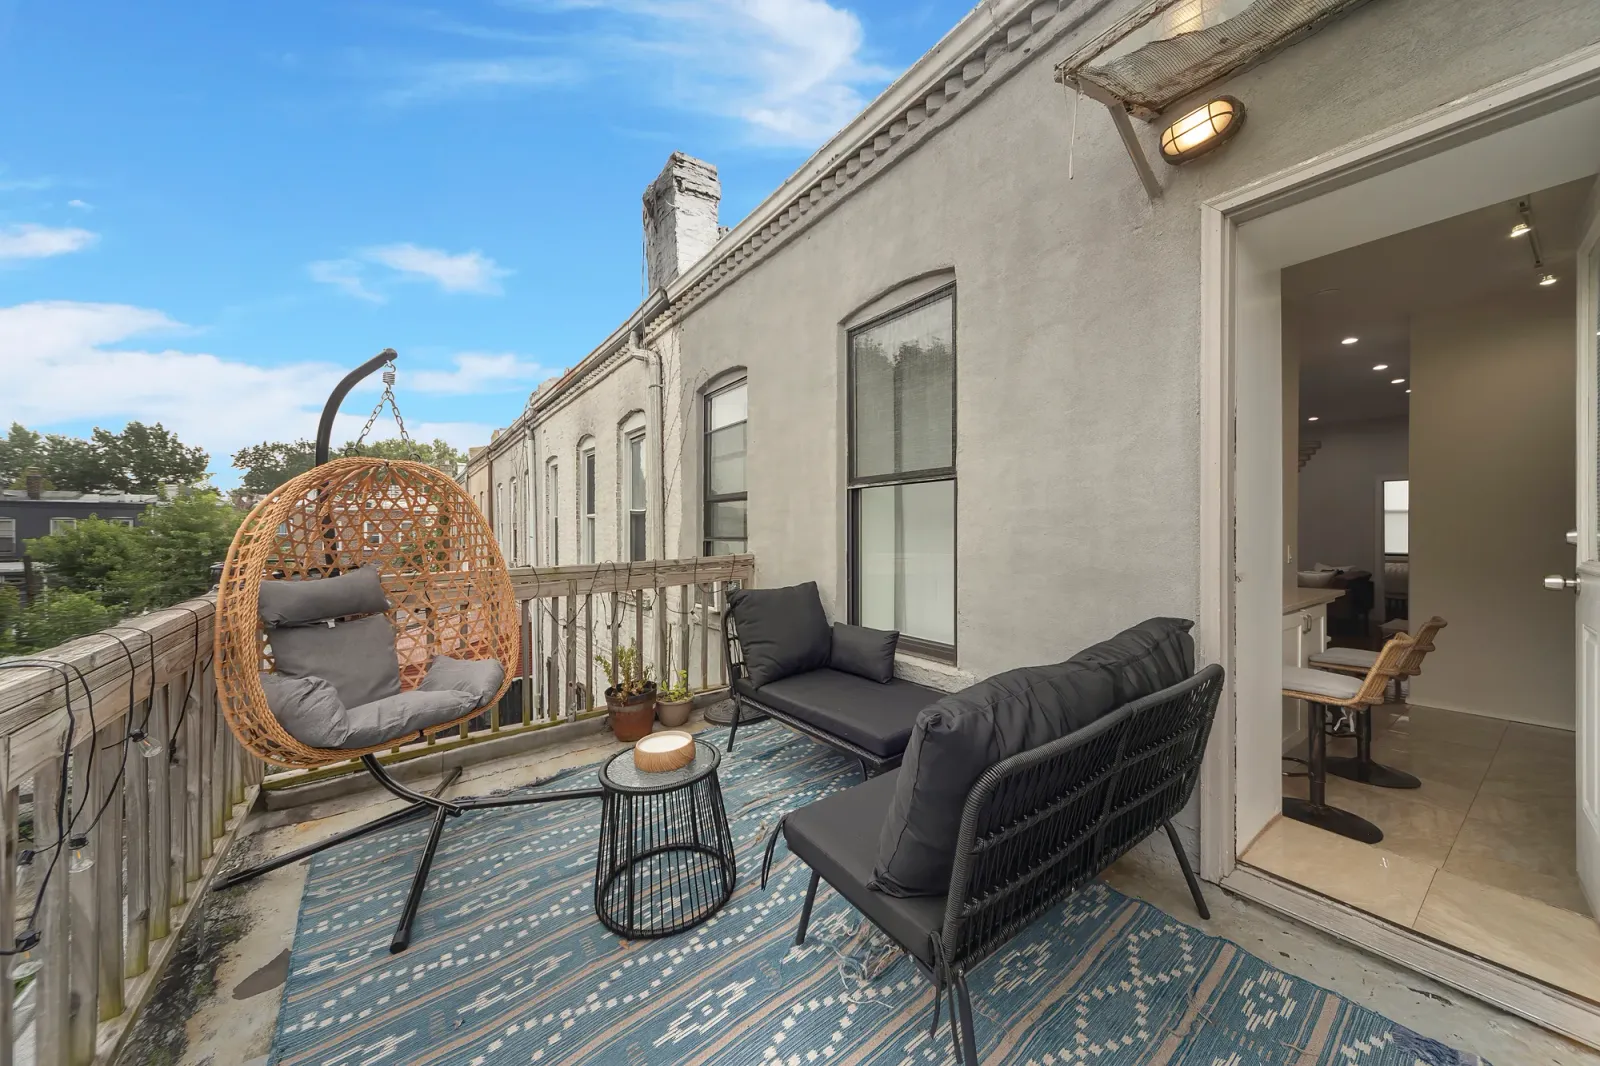
- Outdoor space: balcony, patio, roof deck, yard, stoop.
- Amenities: laundry, parking, gym, pool, elevator, the grill.
- The building and the block, so a guest knows what they’re walking up to at 11pm with luggage.
Shoot each room from more than one corner even when you think you know the best angle. Compositions that look wrong on the back of a camera sometimes read best on a phone in a crowded listing grid.
How many photos, and in what order
Somewhere around 20 to 40 finished images covers most units. Fewer and a listing feels like it’s hiding something. Many more and guests stop scrolling before they reach the good ones.
Order matters as much as count. Lead with the hero, then walk the guest through the place the way they’d move through it: living space, kitchen, dining, bedrooms in order, bathrooms, outdoor space, amenities, then the building and neighborhood last. A grid that jumps from bathroom to balcony to bedroom leaves people with no sense of the layout.
Caption every photo. “Second bedroom, queen bed, blackout curtains” answers a question the picture alone can’t. Captions are also the cheapest place to set expectations honestly about the third-floor walk-up or the airshaft view.
Would you rather hand the shoot off?Short term rental photography across New York City and Baltimore, shot for every platform you list on.
See short term rental photography →Shoot the details guests message you about
Most host questions are the same handful of questions, and photographs answer them faster than a message thread does.
Photograph the bed itself, made, so nobody’s guessing what “queen” means in your listing. Shoot the coffee setup, since it’s the first thing a good share of your guests look for. Show the parking space or the spot on the street. Get the workspace with the chair pulled out. Photograph the laundry, the dishwasher, the thermostat, the crib, the stair up to the loft, the shower head. If a guest has ever messaged you to ask about it, it deserves a frame.
The other half of this is honesty. Photograph the small bedroom as a small bedroom. A guest who books with accurate expectations leaves a better review than one who books a fantasy, and reviews compound over the life of a listing.
A room that photographs bigger than it lives shows up in the reviews.
Mistakes that show up later in reviews
A short list of what to catch in the final look-through:
- Stretched, fisheye-looking rooms from an ultra-wide lens or an aggressive phone panorama.
- HDR halos, the glowing gray outline around window frames and roof lines that appears when an HDR slider gets pushed too far. Real HDR blends several exposures; the filter version just looks radioactive.
- Blown-out windows, where the view is a white rectangle. If a guest is paying for a view, show the view.
- Crooked verticals, the tell that separates a snapshot set from a professional one.
- Unmade beds, open toilet lids, bunched bath mats, visible bins, all free to fix and expensive to leave.
- You, in the mirror. Check every bathroom, every wardrobe door, every dark TV screen before you press the shutter.
- Heavy filters and oversaturated color. A guest comparing your photo to the room they walked into is the only judge that matters.
Review every image full-screen on a laptop before publishing. Problems hide on a phone.
What the platforms do with your photos
Every major booking site crops your images into a grid, so a few habits carry across all of them.
Shoot horizontal. Airbnb, Vrbo, and Booking.com all display cover images in a landscape crop, and a vertical photo gets sliced. Keep the important part of the frame away from the extreme edges so a crop can’t cut it in half. Deliver at the highest resolution your camera produces, because platforms downscale well and upscale badly. And hold the same look across the whole set, since consistent white balance and brightness make a listing read as one shoot even when it took you two days.
If you list the same unit in several places, one strong set works everywhere. Our short term rental photography page covers how we shoot for multi-platform hosts, and the Airbnb photographers page covers that platform specifically.
When it’s worth hiring someone
Do it yourself when you’re testing a new listing, when the unit is small and bright, or when the budget is tight and the alternative is publishing nothing. A careful host with a tripod and a free afternoon beats a rushed pro any day of the week.
Hire out when the place is dim, when the layout is awkward, when you’re relaunching a listing that’s underperforming, or when the unit is nice enough that weak photos are what’s holding back your nightly rate. Hire out too when your afternoons are worth more than the fee, which describes most hosts running more than one unit.
If you want numbers before you decide, we broke down what an Airbnb photographer costs and what moves the price. A 360 virtual tour earns its place when the layout is hard to explain in stills. And if you’d sooner hand the whole thing off, send us the address and we’ll quote it.
Common questions
What’s the best time of day to photograph a short term rental? The best time to photograph a short term rental isn’t one time for the whole unit. Shoot each room while its own windows are lit, so east-facing rooms in the morning and west-facing rooms in the late afternoon. A bright overcast day is the easiest condition for interior rooms with little direct light.
Do I need a professional camera? A good phone camera and a tripod will get you a solid set. What separates the results is prep, level framing, and shooting with clean daylight. Dedicated cameras help most in dim rooms and awkward layouts, where a wide lens and bracketed exposures do work a phone can’t.
Should the lights be on or off? Off, in almost every room with a window. Lamps and daylight are different colors, and mixing them gives you a frame your camera can’t balance. Switch everything on only for windowless spaces, or for a deliberate dusk shot.
How many photos should a short term rental listing have? Around 20 to 40 finished images suits most units, scaled to the size of the place. Full coverage of every room plus the details and amenities matters more than hitting a number.
How do I make a small apartment look bigger without misleading anyone? Declutter hard, open the curtains, shoot from a corner along the room’s long axis, and keep the camera level at chest height. Skip the 0.5x ultra-wide, which stretches a small room into something the guest will notice the moment they walk in.
How long does it take to photograph a unit yourself? Budget most of a day for a one-bedroom the first time: a few hours of prep, a couple of hours of shooting spread across the light, and an evening of editing. It goes much faster on the second unit.
Is a video or a 360 tour worth adding? Both help when the layout is unusual or the unit is large, since they answer the “how does this connect” question stills leave open. For a compact studio, a strong photo set usually does the job on its own.